
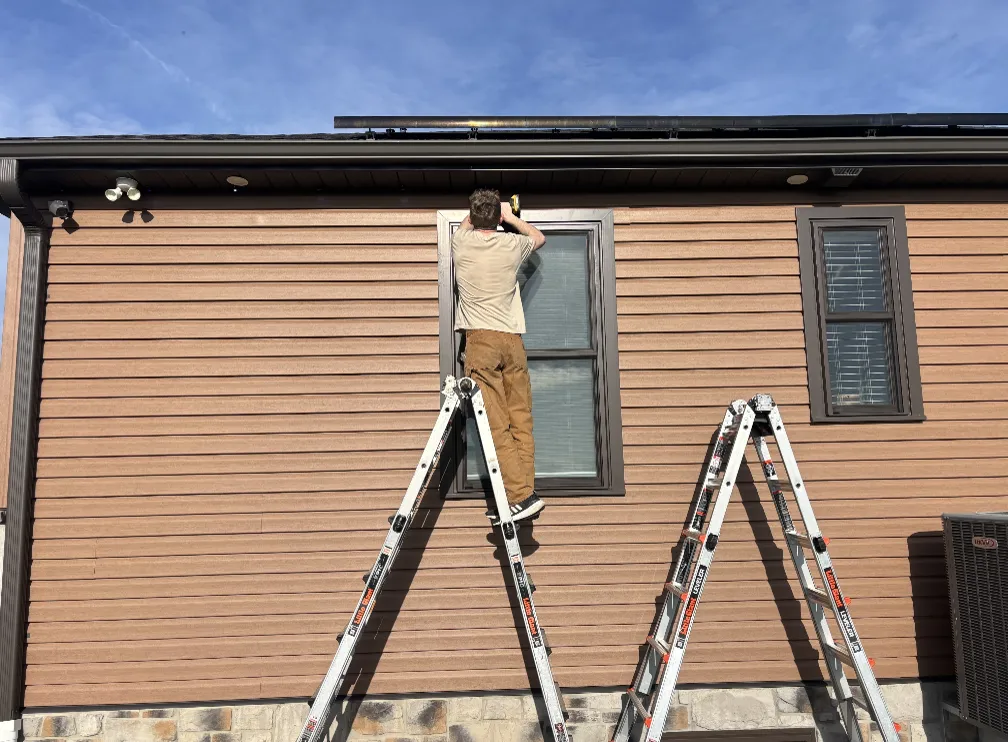
To install Govee permanent outdoor lights: measure your roofline and plan each run, make sure there's a weather-protected outdoor outlet where each run starts, test the kit on the ground, mount the clips or channel along the fascia or under the eaves, snap in the lights, hide and secure the wiring, then plug in and set everything up in the Govee Home app. A single-story home usually takes a DIYer most of a day; the hard parts are ladder work, corners and peaks, and hiding the wires.
What you'll need
- Govee permanent outdoor light kit(s) sized to your measured runs
- A weather-protected outdoor outlet near the start of each run
- A sturdy extension ladder with a stabilizer, and a helper
- Drill/driver, exterior screws, tape measure, and a chalk line or laser level
- Cable clips for securing extension cables along trim
Step 1 Measure your roofline and plan the layout
Measure every stretch you want lit — front roofline, peaks, garage, porch. Sketch where each run starts and ends, and mark inside and outside corners, peaks, gutters, and downspouts. Each run flows in one direction away from its controller, so decide early where power will come from.
Step 2 Choose kit lengths and plan power
Govee sells permanent outdoor light kits in several lengths; a kit typically includes the lights, mounting hardware, a controller, and a power adapter that plugs into a standard outlet. Add up your measured runs, round up, and plan one power point per kit — a weather-protected outdoor outlet (ideally GFCI with an in-use cover) near where each run begins. A kit a few feet short can't be stretched.
Step 3 Test everything on the ground first
Before anything goes on the house, lay the lights out, plug them in, and pair them in the Govee Home app. Confirm every section lights and changes color. Troubleshooting on the ground takes minutes; on a ladder it takes hours.
Step 4 Mount the clips or channel
Mount along the fascia board or just under the soffit, keeping a consistent distance from the edge — snap a chalk line or use a laser level so the run stays straight. Screws into solid wood hold for years; adhesive alone often lets go on painted or dusty surfaces through summer heat and winter cold. Follow your kit's spacing instructions.
Step 5 Install the lights
Snap or slide the lights into the mounts, following the direction arrows from the controller end. Work corners and peaks the way your kit's manual shows, and never kink or pinch the cable.
Step 6 Hide and secure the wiring
Route extension cables behind downspouts, along trim lines, and around corners where they can't be seen from the street. Fasten every loose cable so wind can't whip it, keep the controller and connections out of standing water, and leave a drip loop where cables come down to the outlet.
Step 7 Connect power and set up the app
Plug the power adapter into the outdoor outlet, add the lights in the Govee Home app (they generally use 2.4 GHz Wi-Fi), and name each run. Build a few scenes — warm white for everyday, team colors, holiday palettes — and set a schedule, such as on at sunset and off at midnight.
Step 8 Check it from the street and fine-tune
Look at the house from the curb after dark. Straighten any section that dips, re-secure loose clips, and adjust brightness so the roofline glows evenly.
When it's worth hiring a pro
Hiring out makes sense for two-story homes, steep or complex rooflines, long runs that need several power points, or when you want every wire hidden. We plan the layout before install day, mount along the fascia and trim, route power out of sight, set up your scenes in the app, and come back free for two months if anything needs a tweak. See how professional installation works or get a free quote.
Mason-Dixon LED Co. is an independent installer and isn't affiliated with Govee. Always follow the instructions that come with your specific kit.
Frequently asked questions
How long does it take to install Govee permanent lights?
A single-story roofline usually takes a DIYer most of a day, including planning and testing. Two-story homes, lots of peaks, or long runs can take a weekend. A professional crew finishes most homes in a single day.
Do you need an electrician to install Govee permanent outdoor lights?
No hardwiring is involved — the kits plug into a standard outlet. You do need a weather-protected outdoor outlet near where each run starts. If you need a new outdoor outlet added, that's a job for a licensed electrician.
Can Govee permanent lights stay up through the winter?
Yes — they're made to stay up year-round. Mount them with screws rather than adhesive alone, and keep the controller and connections out of standing water and snow melt.
Is it cheaper to install permanent lights yourself?
You save on labor, but you take on the ladder work, planning, and any fixes. Many homeowners DIY a simple single-story roofline and hire out two-story homes, complex peaks, or anything where hidden wiring matters.
Who installs Govee permanent lights near York, PA?
Mason-Dixon LED Co. installs Govee permanent outdoor lights for homes and businesses in York, Hanover, Lancaster, Harrisburg, Mechanicsburg, and northern Maryland, with free quotes.